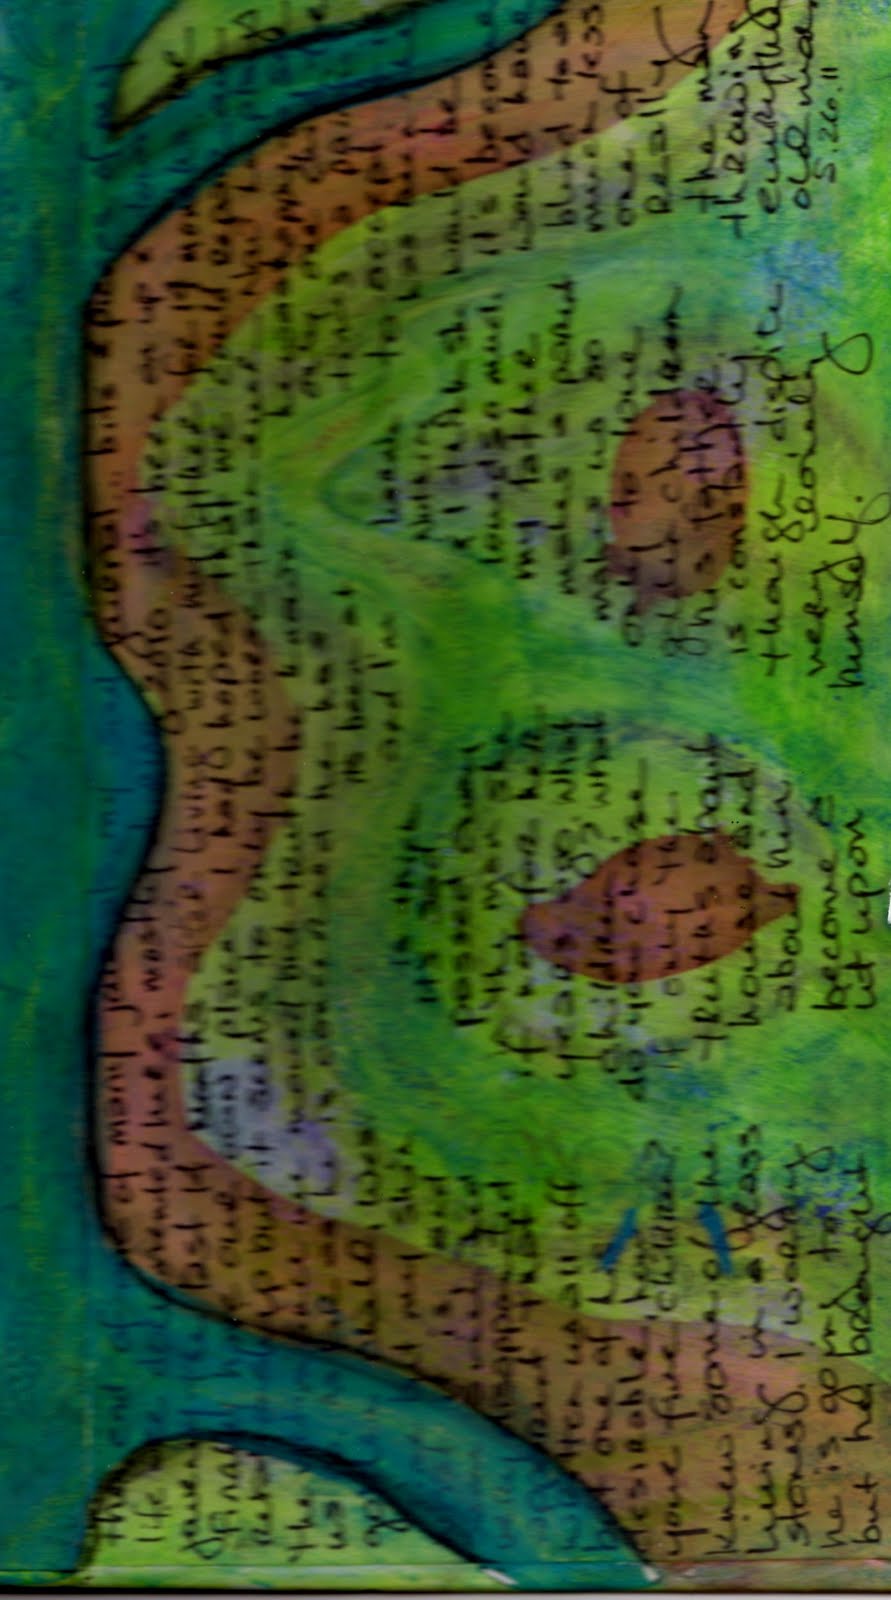
Showing posts with label background. Show all posts

Saturday, November 10, 2012

A little fun...

Having a bit of fun working on some backgrounds.
Image is a jpeg, you are welcome to use in your personal work.
Enjoy!

Wednesday, April 25, 2012

More backgrounds...

Lots of paint and stamping with various objects.
I adhered a piece of die cut paper to watercolor paper, added paints and oil pastels.
Love the dimension.
Hope you are having a great week.
Enjoy!

Wednesday, March 14, 2012

Crayon Art...

As I mentioned in my earlier post, I've been playing with crayons. A few weeks ago, I was browsing around Pinterest (my latest addiction) and came across this crayon art. It brought back memories of art I used to create with my girls when they were younger. All that is needed is an iron, assorted crayons (old & broken are fine), watercolor paper and something to "shave" your crayons. I use a vegetable peeler...an old cheese grater, knife or pencil sharpener will work too.
I used watercolor paper for mine however any type of white paper will work.
Heat iron on highest setting.
Shave or grate crayons onto paper, cover with a second sheet and iron until melted.
Do not overheat or wax will burn. It doesn't take long for the crayons to melt. Pull sheets apart and let them cool.
Here are a few of mine...
A small amount of crayons shavings.
Lots of shavings used for this one.
This one was done in layers, I kept repeating the process.
Heart ATC
I stamped over the crayon to create this background.
Celebrate ATC
I punched circles for the icing.
Fish in a hat ATC
Sometimes I find the most interesting patterns, this piece had a blob that looked like a fish.
Try it out, let me know what you think and let's see your art!

Wednesday, November 09, 2011

Creating a background...

I am often asked about my process for creating backgrounds. I wish it was that easy, my process is always changing as I love learning and trying new things.
So, I thought I would share one of my favorite methods. If I'm ready to create and find myself at a loss for where to start, this process never fails...
I begin by choosing my colors, normally 3. I usually end up adding a 4th color or black at some point later in the process. This was done a 9 x 12 watercolor paper.
Several drops of acrylic.
Spread acrylic, I used a dry brush. Let dry.
Added water to acrylic and splattered.
Spread using an old gift card. Let dry.
More splatter. Let dry.
Stamped acrylic using a variety of items and several shades of color.
Bubblewrap.
Foam stamp.

Rubber stamp with ink.
Plastic cap with acrylic.
Repeat, repeat, repeat. Let dry between colors and mediums.

Once complete, I cut this piece into 6 pieces for ATC's and 1 6 x 9 (not shown)
Here are 3 of the ATC's I created using this background...

I stamped a tree on each piece...

I cut houses from vintage & patterned papers...

Added a few embellishments...
Home Sweet Home

Happy creating...

Thursday, August 11, 2011

Same products, different looks...

I still spend a lot of my time learning and experimenting. This is my most recent experiment using the same products on canvas to create different looks. These are 4 x 6 canvas panels to which I applied a thick layer of gesso and then used different items to create texture. I then applied color using 2 acrylics, 2 inks and 3 oil pastels using various methods. The only tools I used were a spray bottle, eye dropper and my fingers. I ended up with 3 very different pieces...

Bubble wrap was used to create texture on this one.

A comb was used on this one.

For this one I used a foam stamp, it's my favorite of the 3.
You are welcome to download these to use in your art.
Off to finish up another batch of Artist Trading Cards.
Have a great afternoon.

Saturday, June 25, 2011

Just one more day...

until my youngest brother returns from his deployment in Afghanistan. So proud of him and his fellow soldiers for the sacrifices they have made to protect our freedom and I thank them.

Just two backgrounds to share today...


This piece now has had several more layers added and is close to being a finished piece. I used up a stack of old rub-ons that were in very poor shape and should have been thrown away long ago. It's very rewarding to use something instead of throwing it away.

I hope you have a wonderful weekend.

Monday, June 13, 2011

Oh happy day...

Received word this morning that my youngest brother is safely back in the United States following a year in Afghanistan. Big sigh of relief...

A "happy" background I just finished up.

Love is the only flower that grows and blossoms without the aid of the seasons.
8 x 8 collage on watercolor paper
acrylics, oil pastels, ink, gesso, vintage image, die cut, stamps

I've also been working on an Etsy shop and my new website that I hope will be finished by the end of the summer, www.tinroofstudioart.com. It's just a basic page for now.
Hope your day has been a happy one.

Friday, June 10, 2011

Many directions...

With hours to myself, in the evenings, I am getting a lot done. I find that I work better and am more creative if I am going in several directions at one time. Currently I'm finishing up a scrapbook for a client (74 pages complete, 10 to go), making cards and have 3 canvases in progress. Here are a few items that have been on and off my table for several days...


A page from my Soul Journal.

oil pastels, charcoal pencil, pen


Hope is a waking dream. Aristotle

mixed media collage - 8 x 8 on watercolor paper

acrylics, soft pastels, gesso, stazon ink, vintage images, dimensional paint, stamps


leftovers, anything left on my brushes and stamps, even a few drops of ink

Hope you have had a good week, have a fabulous weekend.

Monday, June 06, 2011

It won't be long now...

Less that 100 visitors needed to reach 3,000! I'm still working on my box of goodies, adding things everyday, to give away. You can read about the giveaway here.
Thought I would share a background with you today...

4 x 6
acrylics, ink, stamps, vintage text, rub ons, gesso
This background was creating using pieces from color copies of previously completed backgrounds adhered to watercolor paper. I then applied paint, ink & gesso using stamps and fingers. Yes, finger painting is still a lot of fun. Before applying my sealer, I added several rub ons and some vintage text. I had originally created this background with the quote, don't count the years, count the memories, in mind.
Happy Monday!

Tuesday, April 19, 2011

A glimpse...

Here are bits of several pieces I'm currently working on...

Blending watercolors

Impressions in gesso with several coats of paint


Some collage fun


This year I'm very focused on learning as much as I can. I'm doing several workshops plus reading as many instructional books as I can. I'm covering mixed media, Photoshop, collage art, drawing, journaling and watercolors for now. These are just of few of my "practices" with different techniques and applications.
Hope you are having a great day.

Thursday, March 24, 2011

Collage Backgrounds...

I keep several extra pieces of watercolor paper on my work table for extra paint and experimenting. At the end of the day, all my leftover paint gets applied to one or several pieces. I also experiment with different brushes and various items.
Here are several pieces from the last couple of weeks...


Once I feel that a piece has had enough, I scan and save it. The original will be used as a journal page later on.
Last week as my printer was running low on ink, I printed out several pages. With each page the color got weaker. I made copies until the ink was gone and then cut the copies into pieces.
This is what I created with several pieces...

Home Sweet Home
10 x 8 Canvas
acrylics, watercolors, ink
Hope you are having a great week!